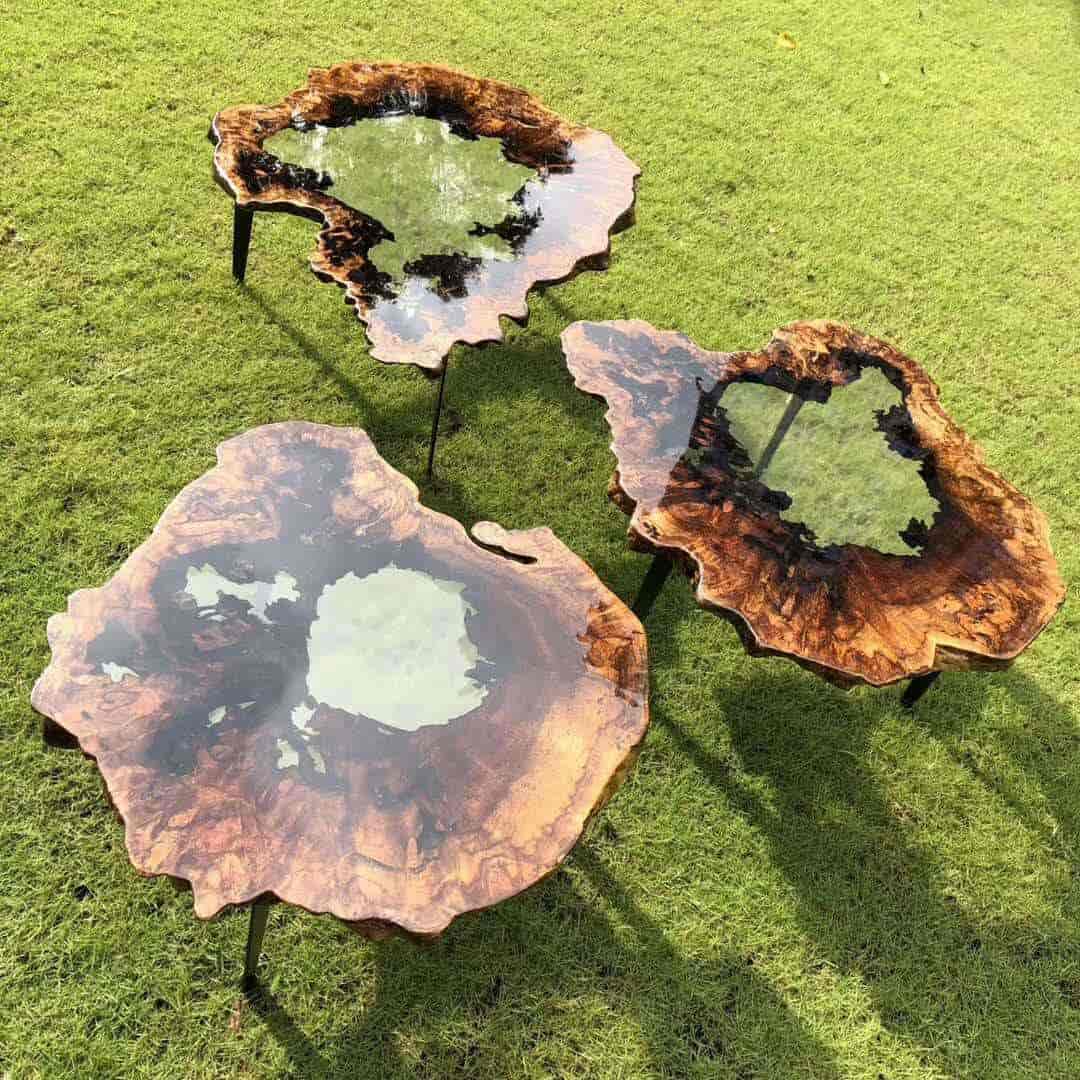
The origin of the river table:
Many years ago, there was a furniture designer in the northwestern United States. His name was Greg Klassen. He chose some recycled wood, most of which were moth-eaten or discarded on construction sites.
Greg Klassen imagined the natural texture of the trees as the bank of a river. According to the texture of the wood, he cut the glass by hand, and then covered the glass on the wood. The emerald glass on the table looked like a flowing river. Combined, make the table beautiful and poetic!
The evolution of the river table:
Gradually, river tables began to be very popular in China. Some manufacturers began to use resin to make river tables. The molded resin replaced the hard glass, and the combination with wood showed a unique oriental charm.
How to make the resin river table?
One. Material tool preparation, RF-9908AB transparent epoxy resin, Red cedar-old wood with insect-eaten problems (we choose flat and air-dried wood), Ruico color paste, we choose blue, Pressure sensitive tape, Polypropylene board, Polish and tung oil, sandpaper, Resin scraper and stirring rod, Mixing cup and large mixing bucket, Simeiya RF-9908AB epoxy adhesive, Safety protective gear (protective glasses, gloves, work clothes, etc.), Hot melt glue gun, Hot air gun, Electronic scale, Vacuum equipment, Small mixer
Two. Operating environment
In the dust-free workshop, the temperature is controlled at about 25 degrees, and the humidity is guaranteed to be below 50% (a hygrometer can be installed indoors)
Note: The control of temperature and humidity is very important to the curing effect of resin glue.
Three. Finishing wood
Cut the selected wood to the size and shape you need. The easiest way is to cut directly from the middle of the wood to make a central river bed. Turn the cut plank over, use a chisel to clean the bark on the edge and sand it with sandpaper, and then use a vacuum cleaner to clean the dust on the surface.
Then check the cracks and wormholes on the board, and use resin to fill the potting. Seal these potting cracks or holes with pressure sensitive tape.
Four. Operating resin
1 Put the blue paste into the RF-9908AB material, (the ratio is 1%) The mixing ratio of RF-9908AB, according to the weight ratio A3: B1
Note: When using an electronic scale, the weight ratio must be accurate. This step is very important. If the ratio is not accurate, it is easy to cause incomplete curing or not curing.
2 Stir the prepared resin in one direction evenly (it takes about 2-3 minutes for manual mixing) for large quantities, you can use a small mixer. (A small amount is recommended for the first operation)
3 Put the mixed resin glue into the vacuum equipment to defoam. (The use of the vacuum machine will not be repeated here. For details, please contact the customer service of Ruico Company)
4 Slowly pour the vacuumed resin into all the gaps or nodal holes. After about 2-3 hours, check whether the gaps are filled. (Because the wood will absorb part of the resin), it needs to be filled again. If the gap overflows, stop filling,
Zhejiang Ruico Advanced Materials Co., Ltd is a professional acrylic resins Manufacturers and flame retardants factory, our company was established in 2012, listed in China on 2019, Ruico is a national high-tech enterprise, Passed ISO9001 quality management system, have provincial-level R&D center, hired academicians, PhD, and other technicians totally 35 people, got 42 patents, the rule-maker of national flame retardant standards.
Application sustainability English
 España
 русский
 Deutsch